


ZNL Bearings – Precision in Motion
Bearings play a crucial yet often overlooked role in industrial machines — ensuring smooth movement, minimizing friction, and boosting overall performance. However, even the best-quality bearing, like those manufactured by ZNL Bearings, can fail prematurely if not installed or removed correctly. Whether you’re working with deep groove ball bearings, spherical roller bearings, or any other type, following the right procedures ensures longevity, performance, and safety.
In this blog, we’ll walk you through a step-by-step guide for proper bearing installation and removal, designed for engineers, technicians, and anyone involved in industrial maintenance.
Why Proper Installation & Removal Matters
Improper bearing handling can lead to:
- Internal damage (brinelling, cracking)
- Reduced life span
- Misalignment and vibrations
- Increased maintenance cost
- Equipment failure
That’s why ZNL Bearings recommends using industry-approved tools and techniques to maintain peak bearing performance.
Preparation: The First Crucial Step
Before installing or removing a bearing, take these preparatory steps:
- Clean Work Area
One of the key notes is to have a workspace that is free from moisture, dust or metal debris, to be precise, a cleaner place. - Check Shaft and Housing
Check the shaft and housing for any signs of damage such as wear, burrs, or surface marks. Use a micrometer to verify dimensional tolerances. - Inspect the Bearing
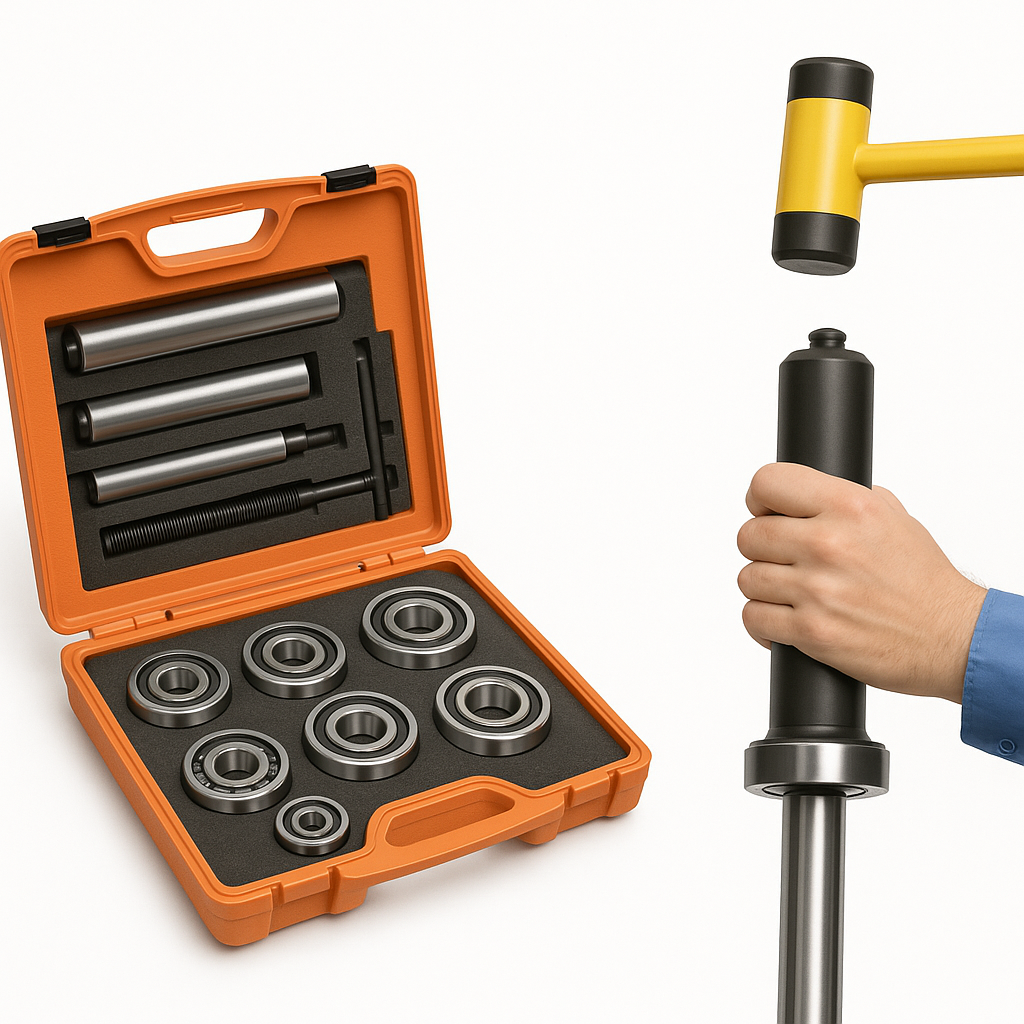
Always inspect new bearings for any dirt or damage before use, and avoid installing any bearing that has been dropped, as it may be compromised. - Gather Necessary Tools
- Bearing heaters (for thermal mounting)
- Hydraulic or mechanical pullers (for removal)
- Protective gloves
- Anti-fretting or anti-seize lubricants
- Torque wrench (for tightening locknuts or bolts)
- Bearing heaters (for thermal mounting)
Bearing Installation: Step-by-Step
Bearings can typically be installed using one of two primary methods: cold mounting or hot mounting.
1. Cold Mounting (Smaller Bearings)
This is used when the bearing’s inner diameter is small enough to allow press-fitting.
Steps:
- Align the bearing with the shaft.
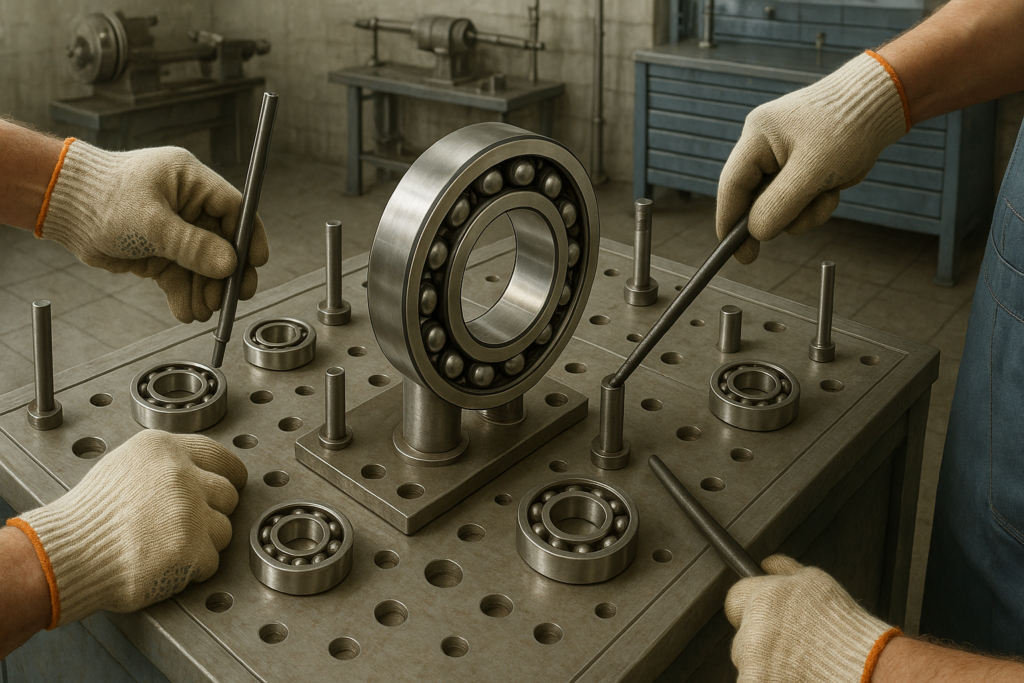
- Use a bearing fitting tool set (never use a hammer directly).
- Use consistent pressure on the inner ring alone, ensuring no force is applied to the balls or rollers.
- Once the bearing is seated, rotate it manually to check for smoothness.
Note: Applying force through the wrong ring can damage raceways and shorten bearing life.
2. Hot Mounting (Larger Bearings)
For larger bearings, thermal expansion is necessary to simplify installation.
Steps:
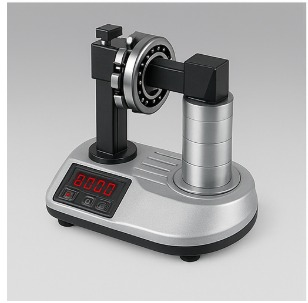
- Warm the bearing evenly to a temperature between 80–100°C using an induction heater, avoiding open flames..
- Slide the heated bearing quickly onto the shaft.
- Keep the bearing in position until it cools down and securely fits onto the shaft as it contracts.
- Never exceed 120°C to prevent metallurgical damage.
ZNL Tip: Use a thermometer and gloves. If it slides too easily, it’s overheated.
Additional Tips:
- Apply a thin film of lubricant or anti-seize to reduce friction.
- Secure with lock nuts or bearing end caps as per the machinery design.
- Avoid over-tightening, which could induce stress in the bearing.
Bearing Removal: Step-by-Step
Removal must be done with care to avoid damaging the shaft or housing.
1. Mechanical Removal (Smaller Bearings)
Steps:
- Use a two-jaw or three-jaw puller.
- Position the puller arms uniformly around the bearing race for proper alignment.
- Apply force gradually via the puller screw.
- Do not hit or lever the bearing off.
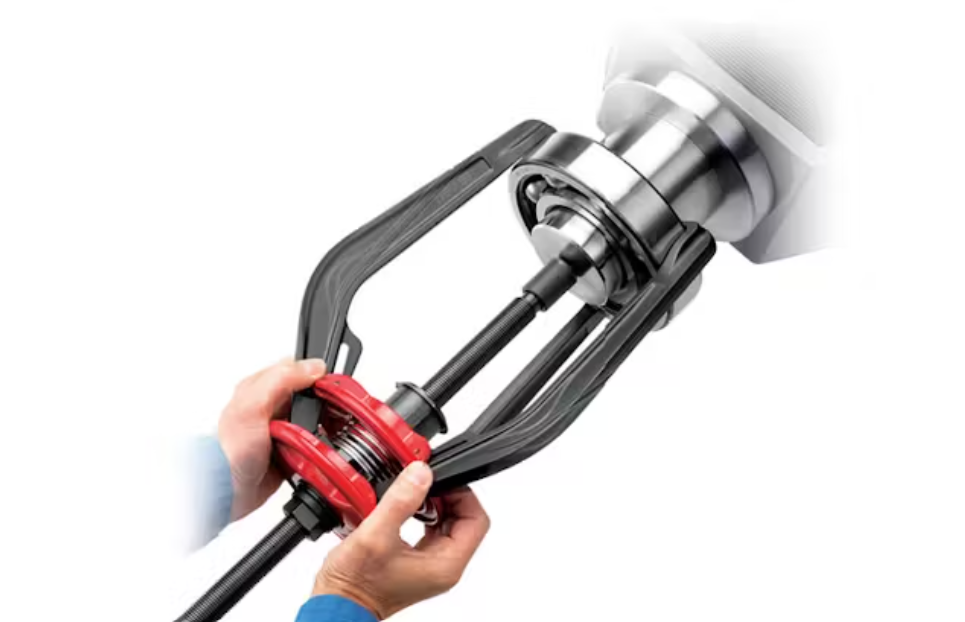
2. Hydraulic Removal (Larger Bearings)
Steps:
- Use a hydraulic puller or hydraulic nut.
- Mount the puller around the bearing.
- Apply slow, controlled pressure to pull off the bearing.
- If its hard to remove a bearing, an induction heater could be of a great help as you must use it to expand the inner ring and hence it becomes easier to remove.
Common Mistakes to Avoid
- Using makeshift tools (hammers, screwdrivers)
- Heating with open flame
- Installing dirty or contaminated bearings
- Applying pressure through the wrong ring
- Forgetting to lubricate before installation
Post-Installation Checks
After installation or removal, always perform the following:
- Spin the shaft by hand to ensure smooth rotation
- Check bearing temperature after initial run
- Reapply lubrication if required
- Keep an eye out for any unusual noise or vibration during the initial hours of operation.
Final Thoughts
Bearings may seem like small components, but their correct installation and removal play a huge role in machinery efficiency and lifespan. ZNL Bearings are engineered for durability and precision, but how you handle them is just as critical.
Whether you’re working in manufacturing, mining, railways, or automotive industries, follow these steps and protect your machinery investment. Want expert guidance on choosing the right bearing type or tools for your application? Contact the ZNL Bearings technical team today.
